Advertisement
Be Cool: How To Use Cryo Technology For Your Best Facial Sculpt
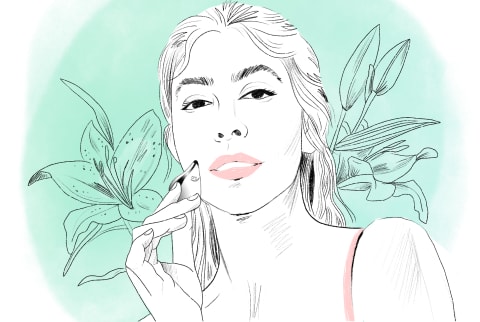
Cold therapy has experienced its moment in the spotlight in recent years, but, from Wim Hof's world-record-breaking techniques to whole-body cryotherapy chambers, the methods we've been focused on have been a little more extreme than the average person can (or should) handle.
Cryo facial treatments, however, offer our skin all the inflammation-reducing and circulation-boosting benefits—with none of the extreme measures.
As we're hunkering down indoors and practicing social distancing, we've had the opportunity to explore an at-home technology that couples cold therapy with a facial massage to achieve glowing, sculpted, and overall healthy skin while getting a little stress-busting self-care into the day.
Cold therapy and your skin.
Remember when your grandmother would apply cold spoons to her under-eye area? Turns out she was on to something.
When cold is applied to the skin, it causes the blood to rise to the surface, which gives an instant lift to calm puffy-looking areas. In addition, proponents of cryo facial treatments have cited a reduction in the appearance of pores, redness, fine lines, and wrinkles over time.
For many years, glow-seekers turned to refrigerated spoons, cucumber slices, or even ice cubes to benefit from this cooling effect, but new technology has taken things to the next level, giving us a safe way to get even more out of cold therapy.
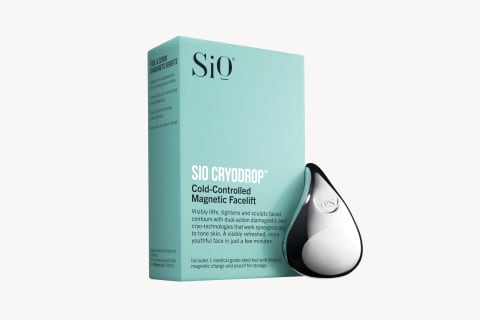
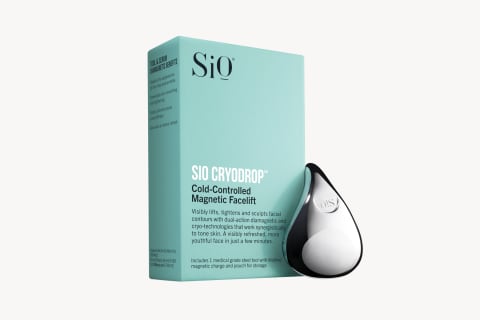
Enter the SiO Cryodrop: a breakthrough skin-toning tool that combines the powers of cold therapy and facial massage in one clever device.
Shop this story:
How the Cryodrop works.
Self-care devotees will notice that the SiO Cryodrop is shaped a little like a gua sha tool, with curves that are designed to slide over the contours of your face seamlessly. But instead of stone, it's made of medical-grade steel—offering cold and cleanliness—and has micropores on its surface to help absorption and hydration.
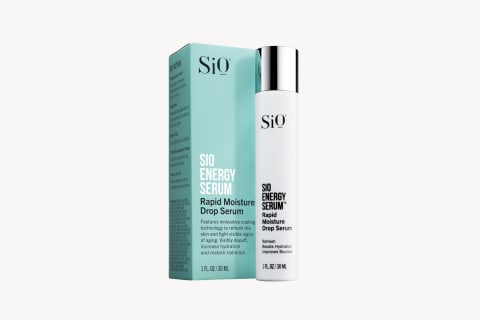
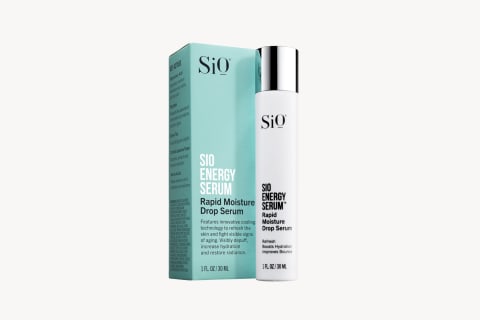
This East-meets-West tool partners perfectly with the SiO Energy Serum, a rapid moisture drop serum that includes skin care favorites like hyaluronic acid, collagen peptide PP56, green tea, and amino acids. In addition to these skin-loving staples, the serum also contains Camellia Japonica flower, a soothing, protecting, and hydration-boosting ingredient derived from an incredible flower that doesn't wilt for five days after it falls from its plant.
These hardworking ingredients mean the cooling serum has hydrating, rejuvenating benefits on its own, but applying it before using the tool to massage the face helps improve product absorption for deeper, longer-lasting results. This is because the Cryodrop has a magnetic heart that works to propel the positive ions in the SiO Energy Serum into the negative ions of the skin—they're a match made in skin care heaven.
If you already have a favorite serum, or you want to change it up as your skin changes, the SiO Cryodrop can be used with any serum or cream of your choice. It can even be used for a midday glow up—just apply a little serum on top of your makeup, massage, and get on your way.
At-home circulation facial massage tutorial.
This at-home massage technique follows the collagen map of the face to help spur collagen production through the increase in blood circulation. Science aside, it also happens to be a deliciously relaxing and tension-relieving ritual that helps stress drop away.
Tip: To enhance the SiO Cryodrop's cooling properties, put it in the fridge (never freezer!) for 5 minutes before use. Once you're ready to go, follow these steps on a freshly cleansed face and reap the circulation-boosting benefits.
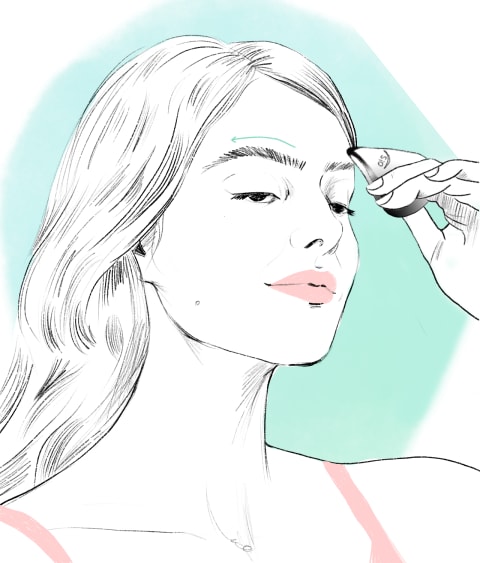
STEP 1: FOREHEAD
Start with the forehead, and follow the facial map above to move in long strokes up from the eyebrows toward the hairline. Work across the forehead in vertical lines, and complete rotation 3 times.
Finish the forehead area by working outward, with the micropores, or textured side, of the Cyrodrop facing down, toward the temples in horizontal lines. Complete rotation 3 times.
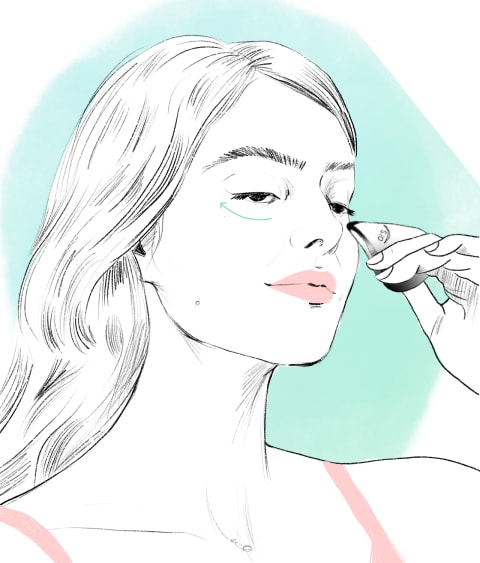
STEP 2: EYE AREA
Move to the below-eye area, and use the pointed tapered side of the tool to work right above the cheekbones in long strokes outward toward the ear.
At the top of the eye, start at the center of the eyebrow, and use the pointed tapered side of the tool to move toward the outside edge of the face, tracing the brows.
Repeat 5 to 10 times both above and below the eye.
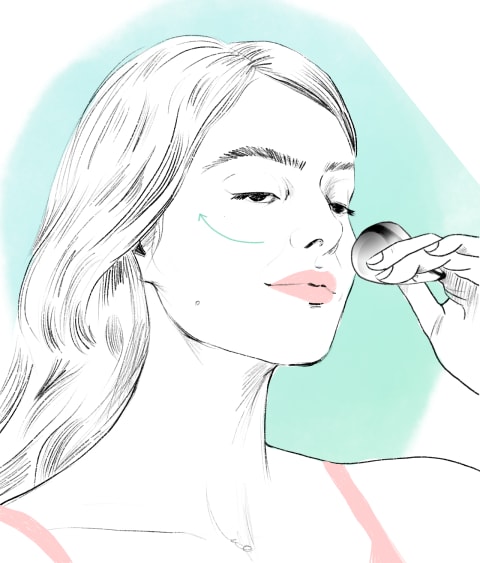
STEP 3: CHEEK AREA
Around the cheek area, use the textured, flat side of the tool to make long strokes from the nose toward the ear.
Repeat 5 to 10 times.
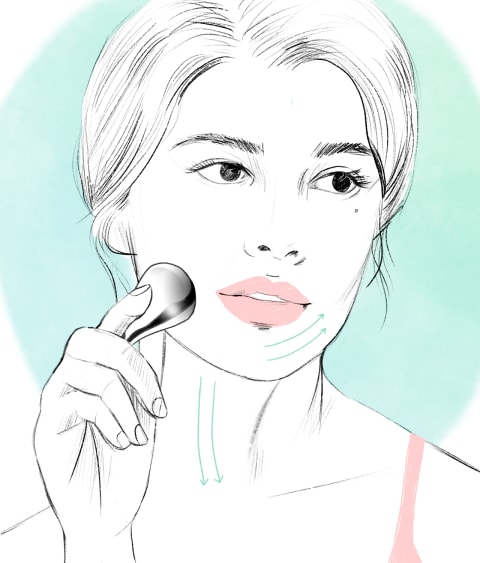
STEP 4: JAW AND NECK AREA
Around the jaw area, follow the map below to make long strokes from the chin to the neck, and repeat 5 to 10 times.
Once at the top of the neck, work the textured side of the tool down toward the clavicle in long strokes and repeat 5 to 10 times.
For extra neck lifting, work upward in long strokes into the chin area, making sure to work down the side of the neck to ensure proper drainage.
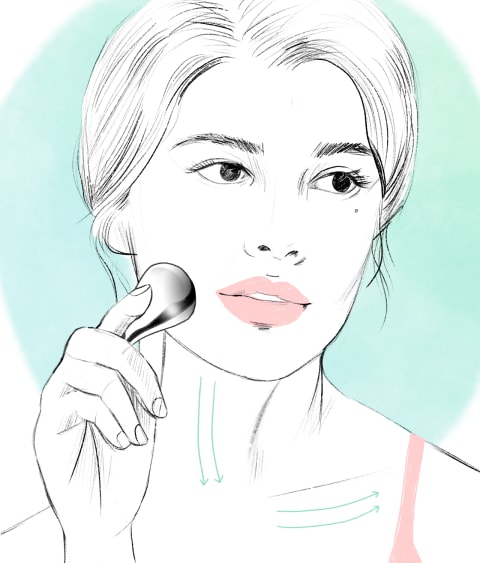
STEP 5: CLAVICLE
Above the clavicle, work the tapered end of the tool from the midline, outward, tracing the bone. Below the clavicle, massage working downward in strokes starting at the midline toward the floor.
Repeat both 5 to 10 times.

